
Which Version of Ableton Live 12 Is Best for You?
With Intro, Standard, and Suite as your three options, selecting the best version of Ableton Live 12 can be overwhelming. Let’s get right to the point and avoid the YouTube-style digression. To help you make an informed decision without wasting time or money, here is a detailed analysis.
The Quick Response
Ableton Live 12 Standard is the best option for the majority of producers. It avoids the drawbacks of Intro and the excess of Suite by striking a balance between price and necessary functionality.
The Long Answer: Dissecting the Available Choices
For Live 12, Ableton provides three tiers, each with ever more features and more expensive prices. What you should know is as follows:
1. Intro
Positives: Cost-effective.
Cons: Extremely few.
There are two send/return tracks, sixteen scenes, and sixteen audio/MIDI tracks.
missing important tools like sophisticated effects, group tracks, and audio slicing.
Who It’s For: Complete novices trying things out. The track constraints will quickly stifle innovation for serious producers.
2. Ordinary
Advantages: The ideal point.
Unlimited sceneries and audio/MIDI tracks.
12 send/return tracks, audio-to-MIDI conversion, and advanced features like comping and nested groups.
Full access to core instruments (Wavetable, Operator, etc.) and effects.
Cons: No Max for Live or Suite’s massive sound library.
Who It’s For: Hobbyists, pros, and everyone in between. It’s flexible enough for 90% of producers.
3. Suite
Pros: Everything Ableton offers.
Max for Live: A toolkit for custom devices, modular synthesis, and experimental workflows.
71GB+ of sounds (packs, samples, instruments).
Extra synths (Collision, Corpus, etc.) and effects.
Cons: Overkill (and over-budget) for most.
Who It’s For: Sound designers, live performers, or producers who want every tool in the box.
Why Standard Wins for Most People
Track Limits Matter: Intro’s 16-track cap is stifling. Even basic projects can hit that wall fast.
Max for Live Is Not Necessary: This specialized tool won’t make Suite’s $360 price increase worthwhile unless you’re creating custom effects or doing live performances.
Additional Sounds ≠ Better Music: Although Suite’s 71GB collection seems amazing, the majority of artists either prefer creating their own sounds or already use third-party sample services like Splice.
Payment Plans: Standard becomes affordable even for those with limited funds at $37 per month for a 12-month period (interest-free).
Upgrade Savings & Advice
Do you own Ableton 11? Upgrades are less expensive. Look for customized offers in your account.
Try every function for free for ninety days before committing. Its limitations aren’t worth the savings. Standard’s unlimited workflow pays for itself.
Final Verdict
Unless you’re a Max for Live power user or need every synth in Ableton’s arsenal, Standard delivers everything you need to produce professionally. Save your cash for plugins, hardware, or coffee not features you’ll rarely use.
Still unsure? Ask yourself: Are you making music now with Intro’s limits? If yes, upgrade. If Suite’s extras won’t directly improve your work, stick with Standard. Keep it simple, and focus on what matters creating.
Are you prepared to go further? Examine in-depth guides on sound design, mixing, and mastering, or enroll in structured courses for practical instruction. Launch Live 12 now, and let your imagination run wild. The world is eager to hear your creations.
Beginner’s Guide to Ableton Live 12: Create Expert Music Right Away
After downloading Ableton Live 12, you’re prepared to begin producing music, but where do you begin? Although the software may initially appear intimidating, its entire power may be unlocked by learning a few fundamental procedures. Let’s go over everything you need to know, from setting up your first beat to tweaking settings, so you can produce tracks of industry caliber.
First Things First: Configuring Your Work Area
You’ll see a sample project demonstrating Ableton’s capabilities when you first launch it. Feel free to explore it, but to start over when you’re ready to create, go to File > New Live Set.
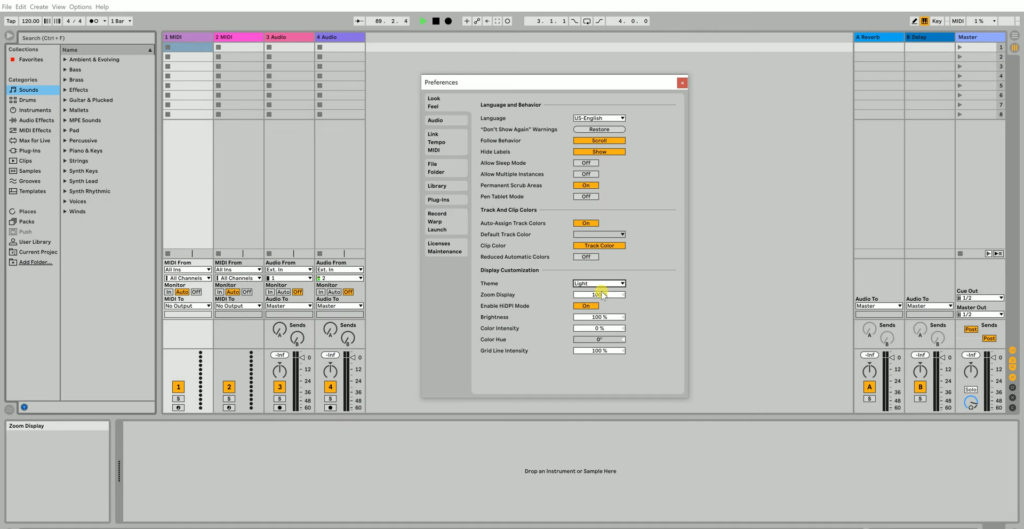
To optimize your preferences like a pro, go to Live > Preferences (or, on a Mac, hit Cmd +). Here’s what should come first:
Audio Settings: Under Input/Output Device, choose your headphones or audio interface. While 48 kHz is also effective, 44.1 kHz is the typical sample rate for streaming platforms. Set the buffer size to 256 samples; if lag occurs, increase it.
Loop & Warp: Turn off For cleaner sample imports, create analysis files and set Warp/Launch to “Unwarped One-Shot.”
Plugins & Themes: Under Themes, personalize your workspace and create a convenient location for third-party plugins (VSTs/AU).
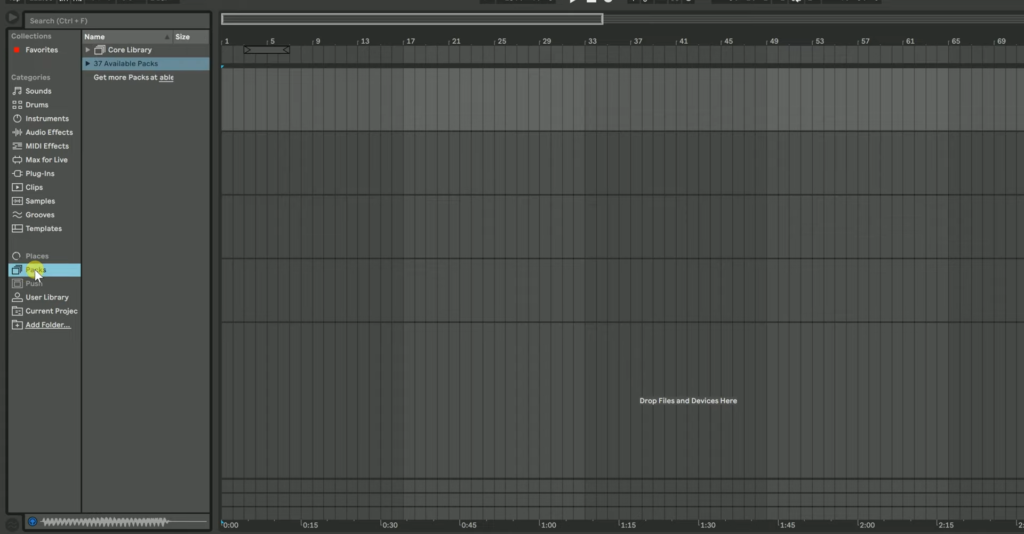
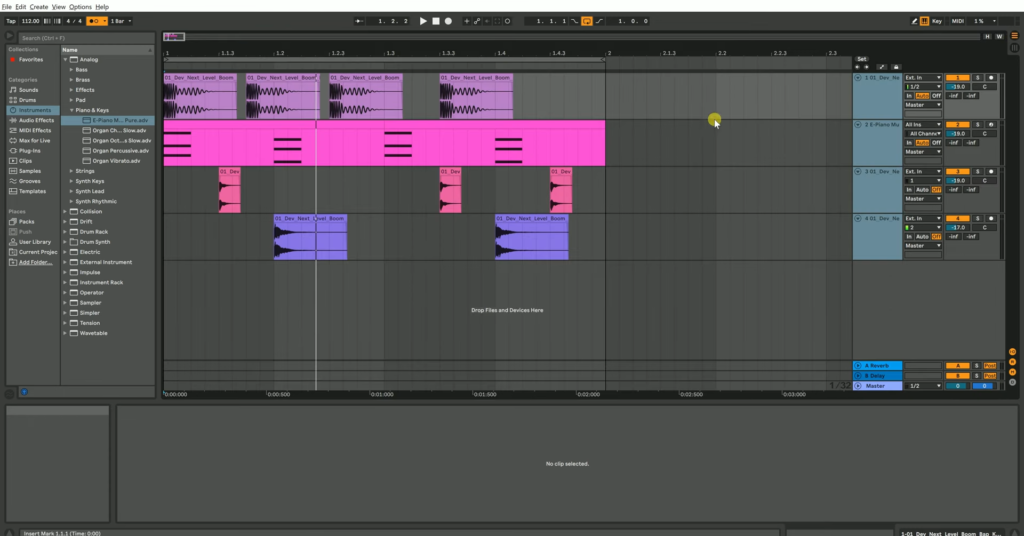
Using Ableton’s Core Layout There are two main perspectives available in Ableton:
Arrangement View (click Tab): Perfect for constructing songs in a linear fashion, this feature arranges clips from beginning to end.
Session View: Ideal for improvisation using triggerable clips and live looping. The Mixer Panel, located in the bottom-right corner of Live 12, is a new feature that provides a simplified method of adjusting track levels and effects.
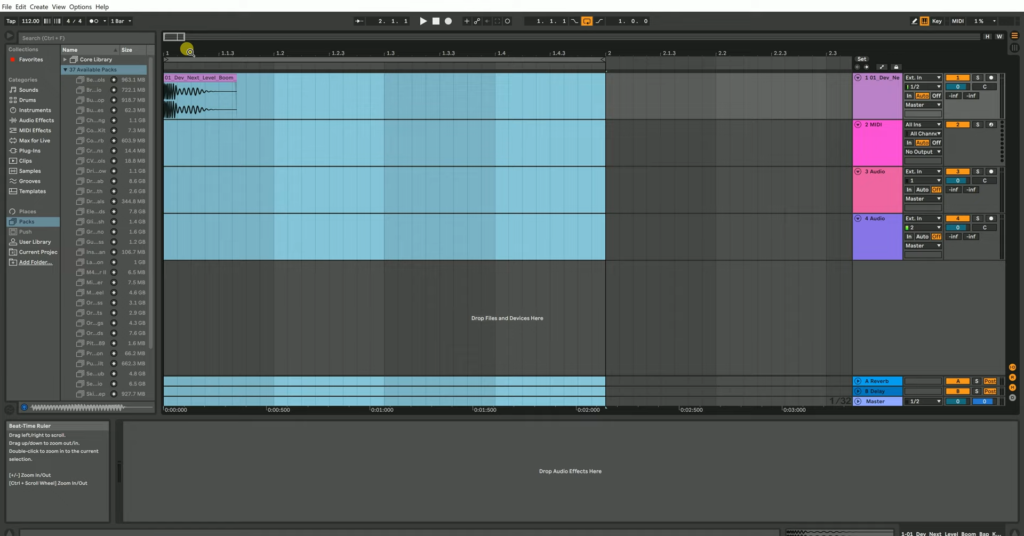
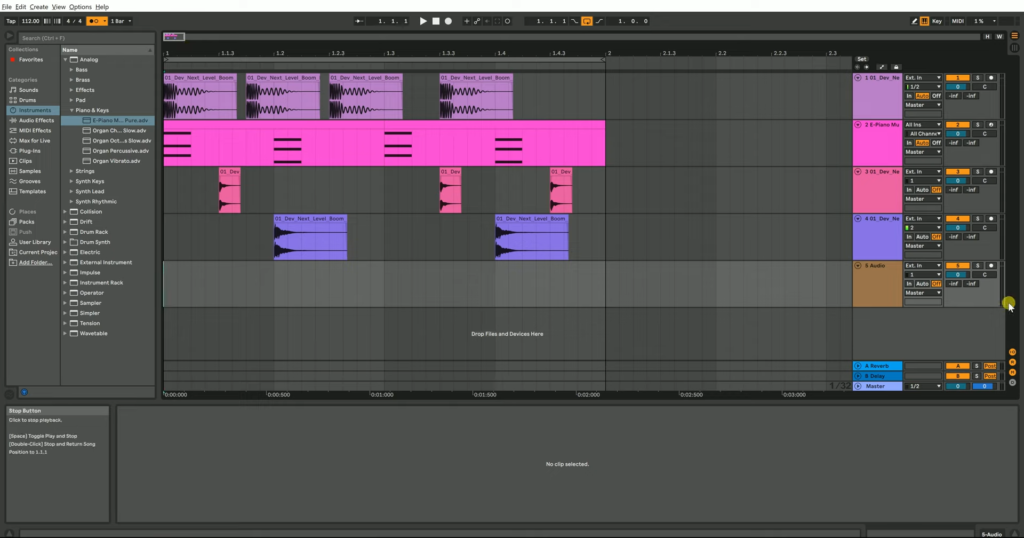
Recognizing Different Track Types
Audio Tracks: Drag files straight into the timeline to import samples (voice, percussion, etc.).
Virtual instruments can be hosted on MIDI tracks. To program chords or melodies, double-click a MIDI clip to activate the piano roll.
Return Tracks: Use common effects (like delay and reverb) on several tracks. To incorporate these effects, change the transmit levels on each track separately.
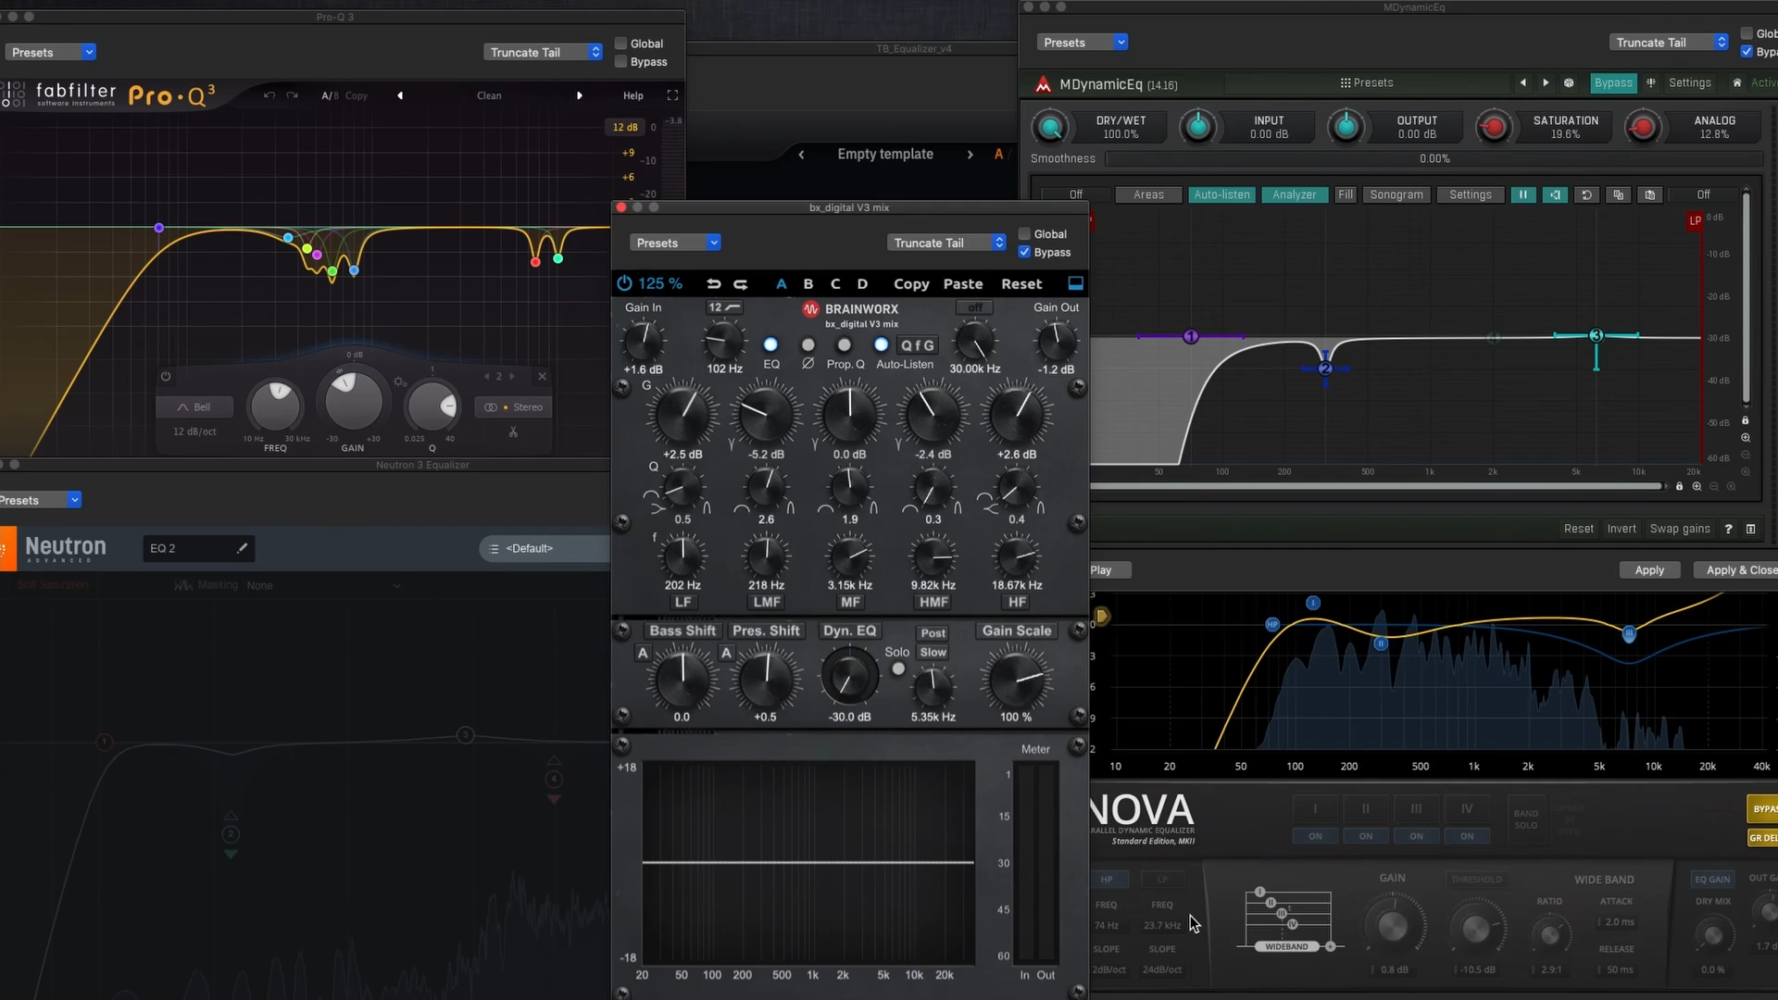
Essential Effects & Routing Drag and Drop Effects: Add audio effects (such as distortion, compression, and EQ) straight into tracks to improve sound quality.
Send/Return Workflow: To add depth without muddying your mix, use the preset delay return and reverb tracks. Sending a vocal recording to a reverb return, for instance, adds spatial effects while maintaining the clarity of the dry signal.
Must-Know Hotkeys for Speed
Speed up your workflow with these shortcuts:
Cmd + T: New audio track | Cmd + Shift + T: New MIDI track
Cmd + S: Save (do this often!) | Cmd + D: Duplicate clips
Cmd + E: Split clips | Cmd + J: Consolidate clips
Spacebar: Play/Stop | Cmd + Z/Shift + Z: Undo/Redo
Three Ways to Add Sound
Samples: Drag and drop audio files (drums, loops) into the timeline. Use the browser’s new filter tags to find sounds fast.
MIDI Instruments: Load synths or virtual instruments (e.g., Serum, Ableton’s Wavetable) and program notes in the piano roll.
Recording Audio: Arm a track (click the red circle), set input levels (avoid clipping!), and hit record. Enable the metronome (click the metro icon) for timing guidance.
Quick Track Assembly
Build a Drum Loop: Drag kick, snare, and hi-hat samples into audio tracks. Duplicate (Cmd + D) to create patterns.
Add Melodies: Load a MIDI instrument, create a clip, and sketch chords or basslines using the piano roll.
Record Instruments/Vocals: Record performances, keep an eye on input levels, and arm an audio track.
Pro Tip: To avoid clipping when mixing, use a limiter on the master track with the ceiling set to 0 dB.
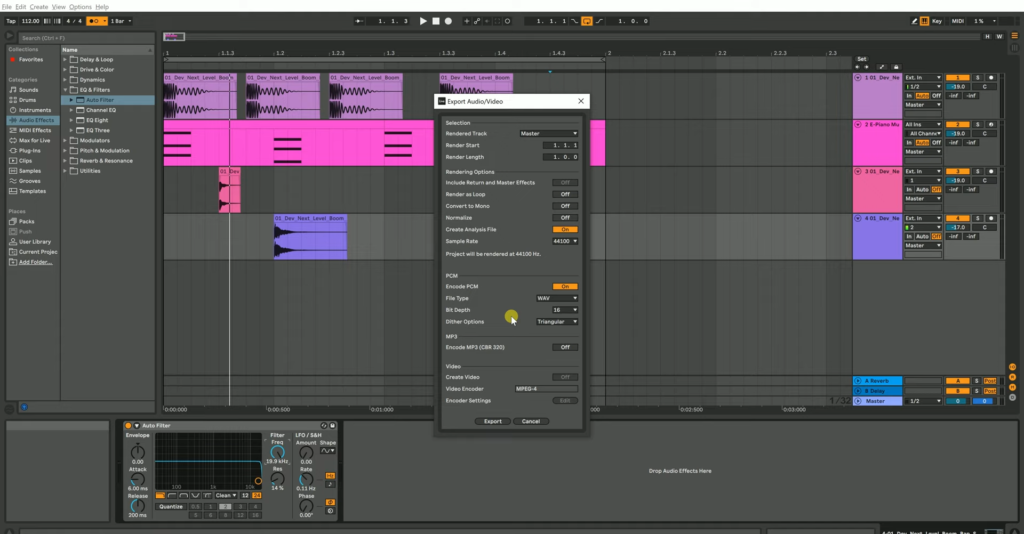
Save and Distribute Your Work File > Ensure that all settings and samples are included in your project folder by selecting Collect All and Saving.
Create a Default Template: Select File > Save as Default Set and save your favorite master chain, effects, and track arrangement.
Concluding remarks
Ableton Live 12 is a powerful tool for artists, but like other tools, it works best when you know the basics. Start small by adjusting effects, layering pieces gradually, and experimenting with samples. Keep in mind that every popular song starts with a single loop.
Leave a Reply