
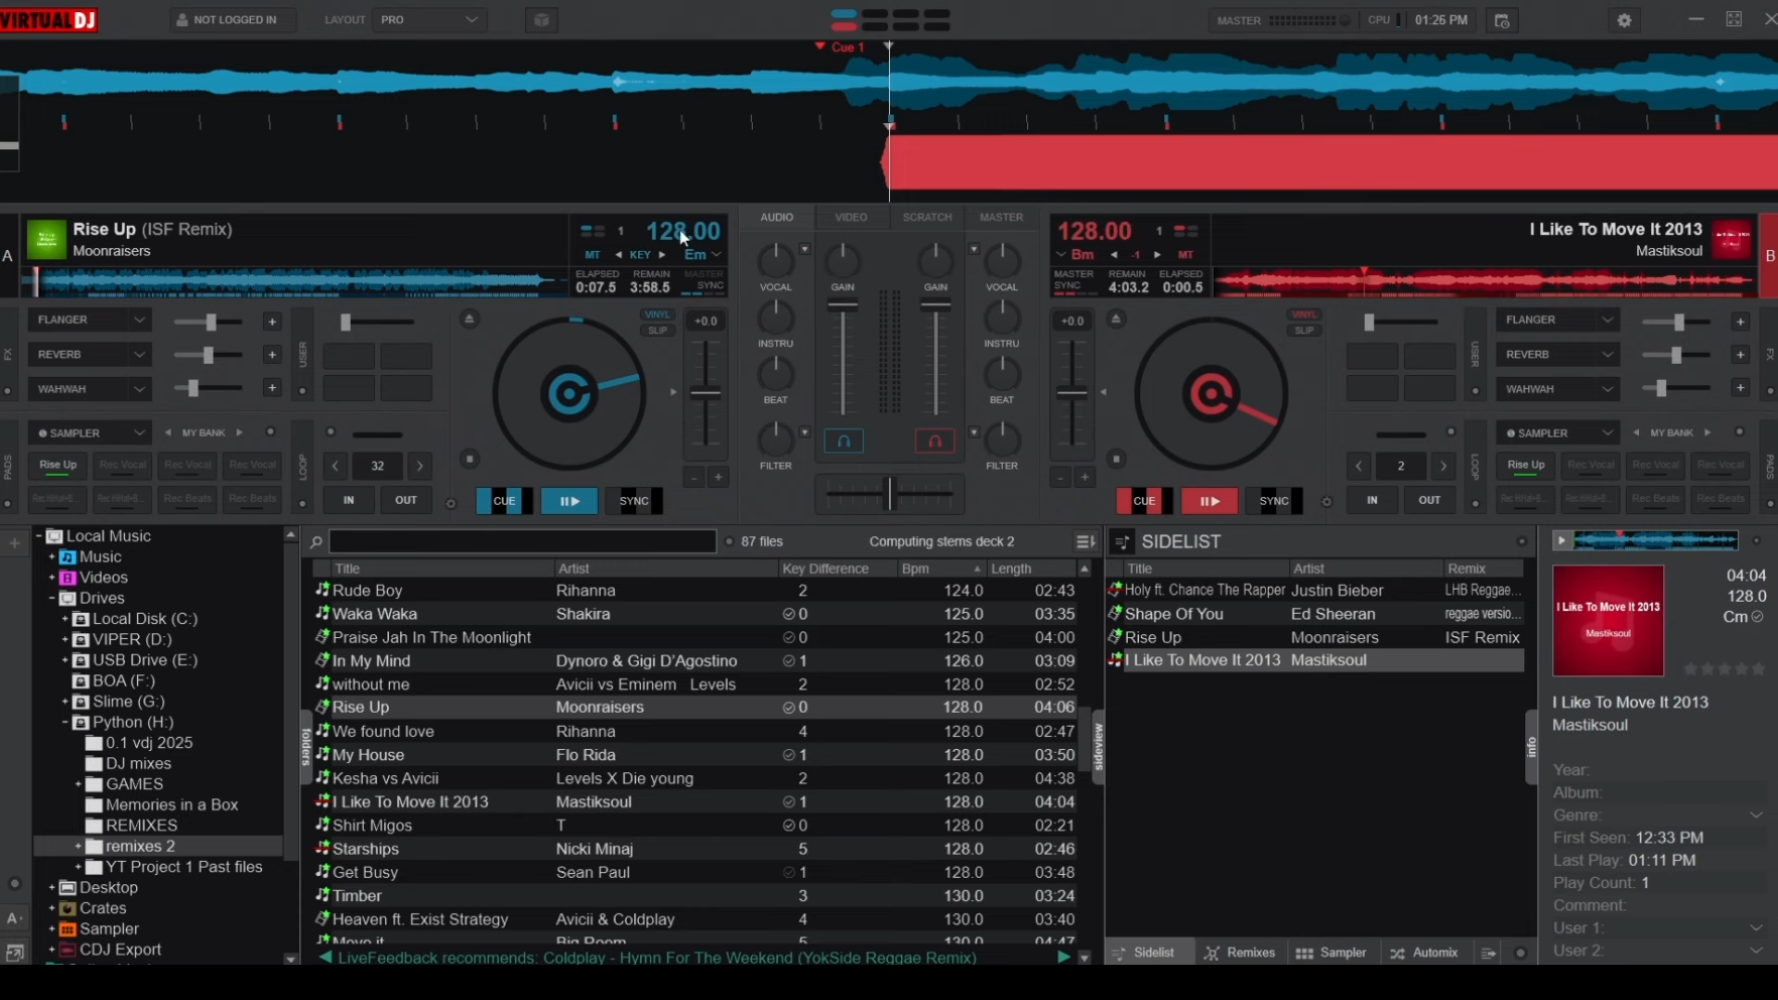
If you are a video editor, editing videos in Black Magic Divinici Resolve makes you realize how powerful Divinici Resolve is in a few projects. Divinci Resolve’s built-in effects make your project quick and easy, repeat and copy, and all of it is effects can work very smoothly on your computer campier to try these functions in another way. You can also customize Divinici Resolve according to you.
So in this article, I am going to talk about the potential of Black Magic Divinici Resolve that makes your every edit smoother and professional.
Consistent Interface
Davinici Resolve has a very user-friendly interface. If you are an editor, and you edit videos a lot, but you become used to your desktop screen. If you have an emergency, and you have to use your friend’s desktop. Now Divinici Resolve interface is so consistent that your friend’s desktop feels like it is your desktop due to a very user-friendly interface and design. You do not have to spend time on finding effects, text decorations, frameworks, etc.
One of the key features of the same interface is that helps all editors very fast. The consistent design makes editors work smartly and more efficiently.

Better Color Grading
DaVinci Resolve has more and better coloring features than any other video software out there in the market. Black Magic had spent a ton of work in improving the color grading of Divinici Resolve, and it rival decades far from its rival video editing software. Fun fact, in the early days, it was made for purely color grading, but now it has evolved into one of the best video editors. Other video software editors are demanding to bring divinity resolve type Color Grading feature.
All in One
If you are an editor, you know the worth of editing tools. Thanks to Black Magic Divinici Resolve, it contains all the essential and modern tools for editing videos. You can get all features like a cut page for quick editing, an edit page for in-depth editing, a fusion page for modern and advanced graphics and Fair Light for audio editing all in one package. You can perform very advanced graphic editing and audio editing in Divinici Resolve simply by using the effect panel.
It also supports other best software for audio and graphic editing, so, you can edit your video with a mixture of one of the best audio and video editing software in the market. All of this work is done by using black magic divinity to resolve a key feature known as Dynamic Link.
More Satisfying Editing Experience
The design of black magic divinity resolve makes its editor work editing faster and more enjoyable in simple words more satisfying. Due to its simple interface, it contains a preview window, timeline and a perfect place to store media. There are many small differences that Davinci resolved had worked very perfectly to make editing better.
For example, if you want to add a fade filter to your raw footage, you can simply drag the oval shape icon on your raw footage, clip. You can drag the icon and apply the fade effect according to your need, and it can be applied from both ends of the video. It is very fun to explore and use other features of divinici resolve.
Smooth Interface
Divinici Resolve provides a very smooth interface that contains fewer bugs than any other video editing software in the market. As an editor, everyone wants to edit video smoothly. If you want to apply an effect, it will be applied immediately on video, and this luxury is delivered by Black Magic Divinici Resolve perfectly.
3 Reasons to Buy Black Magic Divinici Resolve
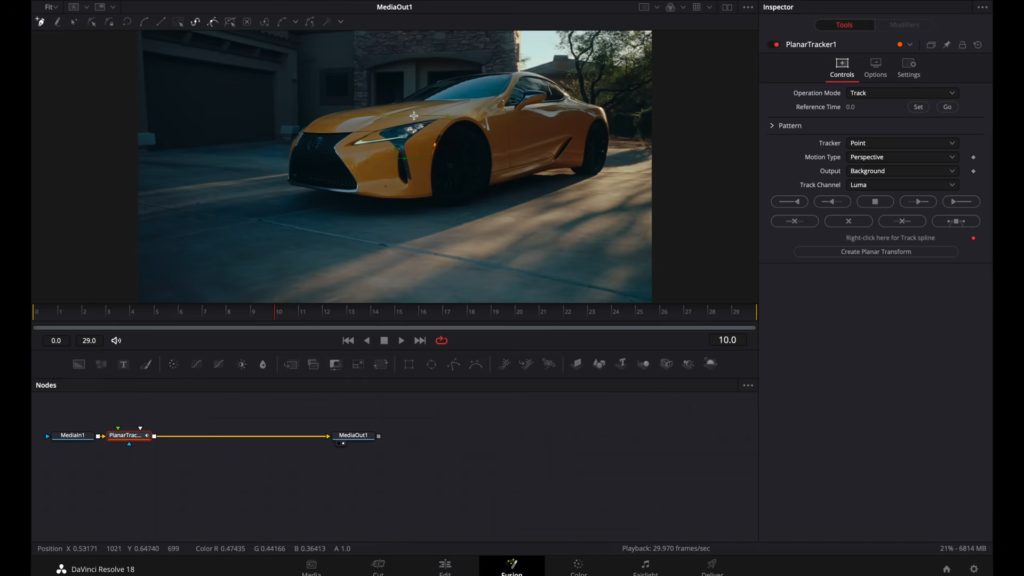
The first feature is Surface Tracker. You can easily apply this credible feature to surfaces that are wavy like clothes, skin and any other type of fabrics. For example, you can very easily put any kind of logo on your shirt with the help of this feature known as surface tracker.
The second feature is Analog Damage, with the help of the analog damage effect, you can turn your raw videos to look like security camera video views or into a 90s old VHS Tape or even into 70s TV.
The third feature is Halation, if you are a video editor who is more interested in editing videos in cinematic or filmy scenes, then this feature is always the best choice for you. This feature creates a glowing and blooming effect around the high-contrast objects in videos, just like cinematic film.
3 Davinci Resolve Effects That You Must Use On EVERY Video
Push
You can easily find this effect in Transition Category under the motion drop-down menu. This effect will save your precious time on repetitive and boring key-framing.
For example, you can make the background push in from the left side followed by the title. You have to put the background and title on each other inside the editing timeline of Divinici Resolve. Now, shift the title forward and put the push effect on the left of the background in the timeline.
You can also customize settings according to your taste by simply accessing Inspector present in the top right corner of the window. Now you can make changes according to you and improve it further.
Edge Wipe
You can easily find this effect in Video Transition under the wipe category. It may look similar to the Push Effect, but instead of pushing the whole video from one side, it reveals the clip from one side. You can use this effect a lot for before and after color grading and even photos.
For example, if you grab a video into the timeline and apply color grading. Now, delete color grading on the first half of the video and put an edge wipe effect on them. You can also characterize this effect according to you just by changing the Degree of Rotation.
Drop Shadow
This is the most classic effect in entire editing effects. If you want something like the text to pop up from the background and make it more appealing to watchers, the dropdown is used to pull the trick. You can easily find this effect under Reduce Effects.
For example, if you have some kind of graphics or text on a white background. Just toss the drop shadow effect on text or graphics. It will create a nice and appealing shadow under the text. You can also characterize this effect according to you, like changing the width of shadow, angle of shadow, shadow distance, shadow blur and color of the shadow in just one click.
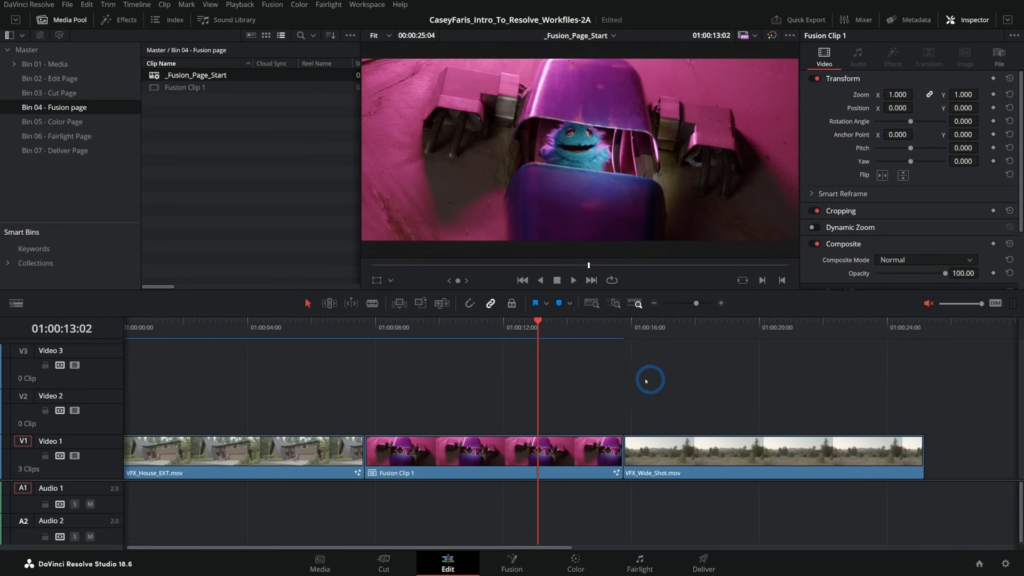
Step-by-Step Guide: Masking Video with Text in DaVinci Resolve
1. Start with a Fusion Composition
In your timeline, right-click the clip where you want the text effect.
Navigate to the Effects Library > Templates > Fusion Composition, and drag it onto your clip.
2. Switch to the Fusion Workspace
Click the Fusion tab. This opens a node-based editing panel.
3. Set Up Your Nodes
Locate the MediaIn node (your original video).
Press Shift + Spacebar, search for Background and add it to the workspace.
Connect the Background node’s output to the MediaOut node.
Add a Text+ node (search using Shift + Spacebar). Link its output to the Background node’s input.
4. Reverse the Merge Order
Find the Merge tool (automatically generated when linking nodes).
Right-click the Merge node and choose Swap Inputs to invert the masking effect.
5. Customize the Text
Double-click the Text+ node. In the Inspector panel, type your text.
Adjust the font, size, and color under the Text and Style tabs.
6. Activate the Mask Effect
Select the Merge node. In the Inspector, change the Apply Mode dropdown to Hold Out. The text will now reveal the video beneath.
7. Enhance with Color Grading
Return to the Edit tab.
For a professional finish, go to the Color workspace to adjust contrast, saturation, or shadows.
8. Preview and Export
Hit the Spacebar to preview the effect.
Once satisfied, render your project via Deliver > Export.
Bonus Tips:
Use the Transform tool in the Text+ node to animate the text (e.g., scaling or sliding).
Add a subtle drop shadow to make the text pop against busy backgrounds.
How to Enable 60 FPS Export in DaVinci Resolve (Quick Guide)
Wondering if DaVinci Resolve supports 60 FPS video exports? You’re not alone! Many creators run into issues where their projects default to 30 FPS, but the solution is simpler than you might think. Follow these steps to ensure buttery-smooth 60 FPS exports every time.
Step 1: Adjust Timeline Settings Before Importing Clips
Head to File > Project Settings and locate the Timeline Frame Rate option. Change this to 60 FPS right away. Critical note: This setting must be configured before adding any footage to your media pool. If you’ve already imported clips, create a new project or adjust the frame rate first—otherwise, your timeline and export settings may stay locked at 30 FPS.
Step 2: Import Your Media
Once your project is set to 60 FPS, drag your high-frame-rate footage into the media pool. DaVinci Resolve will now recognize the timeline’s 60 FPS configuration, ensuring consistency from edit to export.
Step 3: Export in 60 FPS Without Hassle
Navigate to the Deliver tab (not the “foreign tab,” as mentioned in some tutorials) and choose your preferred format. You’ll now see 60 FPS available in the export settings. Render your project, and voilà—your video will retain that crisp, smooth motion!
Pro Tip: Always verify your source footage is recorded in 60 FPS. No software can magically add frames that weren’t there originally!
By setting up your project correctly from the start, you’ll avoid the dreaded 30 FPS cap. Happy editing!
why is my video choppy after rendering davinci resolve.
The Frame Rate Mystery
You import a clip into your project, but during playback, there’s a subtle jump or lag—almost like the video “hiccups” for a split second. You rewatch it, double-check your edits, and scratch your head. What’s going on?
Here’s the culprit: mismatched frame rates.
Let’s diagnose this with an example. I’ve imported a clip from ArcGrid.io into my timeline. When I play it back, there’s a tiny but noticeable glitch. Watch closely:
[Pretend there’s a video example here.]
Did you catch it? It’s subtle, but if you’re detail-oriented (like most editors), it’ll drive you nuts.
Check the Metadata
First, inspect your clip’s metadata. In DaVinci Resolve:
Select your clip in the Media Pool.
Click the Metadata panel (top-right of the viewer).
You’ll see details like codec, resolution, and frame rate. In my case, the clip is 25 fps—common in regions like Europe. But in the U.S., standard rates are often 23.976 fps (cinematic), 24 fps, or 30 fps (common for YouTube and smartphones).
Project Settings: The Root of the Problem
Now, check your project settings:
If your timeline’s frame rate (e.g., 23.976 fps) doesn’t match your clip’s frame rate (25 fps), Resolve has to compensate. This mismatch forces the software to duplicate or drop frames, creating that choppy effect.
How to Fix It
Option 1: Match the Timeline to Your Footage
If all your clips share the same frame rate:
Adjust your project’s timeline settings to match (e.g., 25 fps).
Relink or reimport clips if needed.
This ensures seamless playback without frame rate conversion.
Option 2: Adjust Individual Clips (Mixed Frame Rates)
Working with mixed frame rates? Here’s a workaround:
Right-click the problematic clip in the Media Pool.
Select Clip Attributes > Change Frame Rate to match your timeline.
Why this works (sometimes):
Slow-motion clips (like my 25 fps example) can be adjusted to 23.976 fps without issues. Slower frame rates stretch the footage, avoiding missing frames.
Avoid upscaling frame rates: Converting 23.976 fps to 30 fps, for example, requires generating extra frames, which often leads to artifacts or choppiness.
Pro Tip
Always check frame rates before importing footage. For mixed-rate projects, consider using optimized media or proxy files to streamline playback.
Leave a Reply