
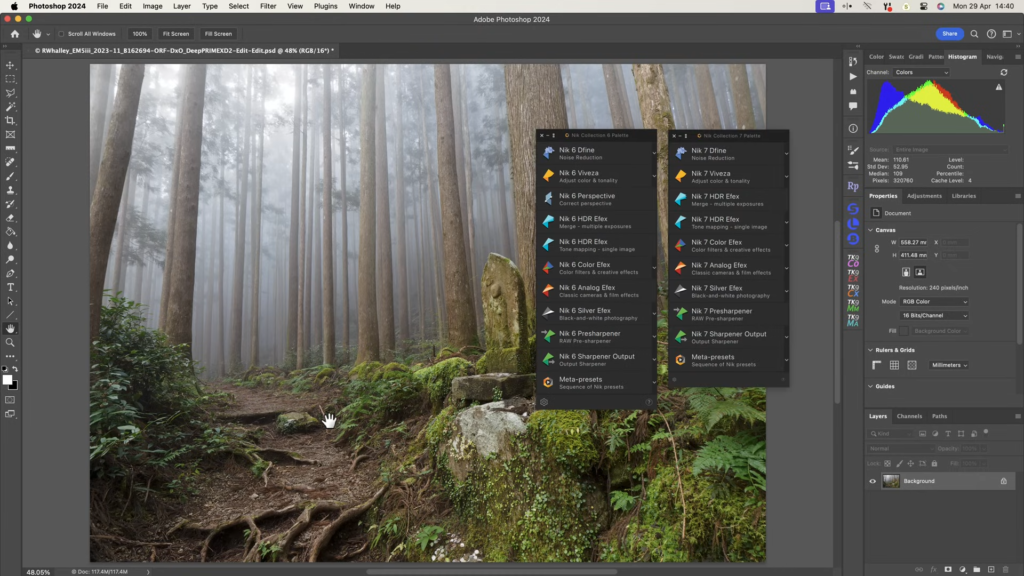
The Nik Collection 7: A Nostalgic Powerhouse in the Age of AI Photo Editing
Remember the golden era of Photoshop, when editing wasn’t about conjuring surreal AI-generated art but refining the soul of a photograph? Back then, plugins weren’t just tools they were essential companions for photographers. Names like Alien Skin Eye Candy, Flaming Pear, and Kai’s Power Tools still evoke a sense of nostalgia for those of us who spent hours tweaking sliders and layering effects. Among these legends, one suite has defied the odds, evolving through decades of digital revolutions: the Nik Collection. Now in its seventh iteration under DxO’s stewardship, the Nik Collection 7 asks a bold question: Can a classic plugin suite survive and thrive in today’s AI-obsessed world?
A Legacy Reimagined
The Nik Collection’s journey reads like a tech odyssey. Born in 1995, it became a cult favorite before Google scooped it up in 2013. Four years later, DxO—a brand synonymous with precision over hype took the reins. While competitors chase AI-driven shortcuts, DxO’s philosophy aligns perfectly with Nik’s ethos: tools should enhance creativity, not replace it. The latest release, Nik Collection 7, trims the lineup to seven plugins (farewell, Perspective Effex) and focuses on speed, masking precision, and workflow refinements. But does it still matter? Let’s dive in.
The Plugins: Where Nostalgia Meets Nuance
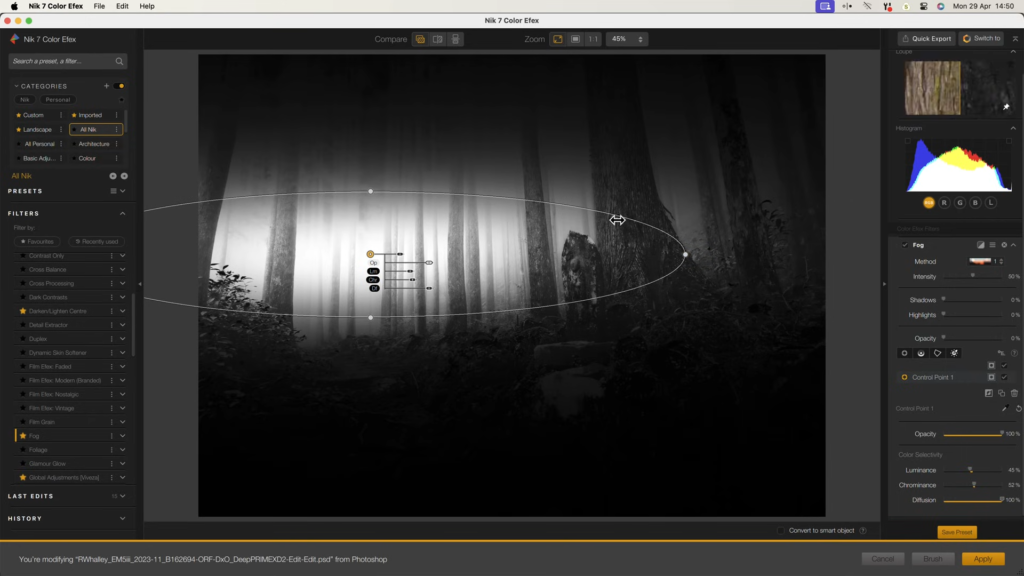
Color Efex Pro 4
The crown jewel of the suite, Color Efex Pro 4, is a color grading powerhouse. With 61 customizable filters—from subtle tonal shifts to dramatic film emulations it’s a playground for purists. Want to replicate the warmth of a vintage polarizer or the moody fade of a graduated ND filter? This plugin delivers. New masking tools (Control Points, luminosity masks) let you target edits surgically, avoiding the “global slider chaos” of lesser tools. While AI color-grading apps promise one-click fixes, Color Efex rewards patience with unparalleled control.
Analog Efex Pro 3
Forget Instagram’s tacky filters. Analog Efex Pro 3 is where retro film lovers thrive. It mimics everything from Holga toy cameras to wet-plate collodion processes, complete with light leaks, grain, and vignetting. But here’s the kicker: it avoids cheesiness. Presets like “Vintage Color” or “B&W Portrait” balance authenticity with artistry. Commercial photographers, take note—this is how you sell “nostalgia” without looking like a cliché.
Silver Efex Pro 3
Black-and-white conversions are deceptively complex. Silver Efex Pro 3 elevates the craft with 20 film stock emulations (Kodak Tri-X, Ilford Pan F) and granular adjustments for tonality, grain, and contrast. Unlike Lightroom’s basic desaturation, Silver Efex treats monochrome as an art form. Start with a preset, tweak the “Dynamic Brightness” slider, and watch shadows sing.
HDR Efex Pro 2
HDR photography earned a bad rap in the 2010s (thanks, overcooked skies). HDR Efex Pro 2 redeems the technique. Its alignment and ghost-reduction tools handle bracketed shots smoothly, while 45 presets range from “Natural” to “Drama”—if you dare. For tricky exposure blends, this plugin outmuscles Lightroom’s basic HDR tool.
Define 2
In an AI denoising world, Define 2 feels like a relic until you use it. Instead of machine learning, it uses wavelet frequency analysis to scrub noise while preserving texture. The result? Cleaner images without the plasticky smoothness of AI tools. Ideal for photojournalists or purists who prioritize authenticity over perfection.
Sharpener Pro 3
Sharpening is a double-edged sword. Sharpener Pro 3 splits the process into “creative” (pre-export) and “output” (print-ready) stages, applying subtle edge enhancement without turning your subject into a crunchy mess. It’s proof that restraint often beats algorithmic bravado.
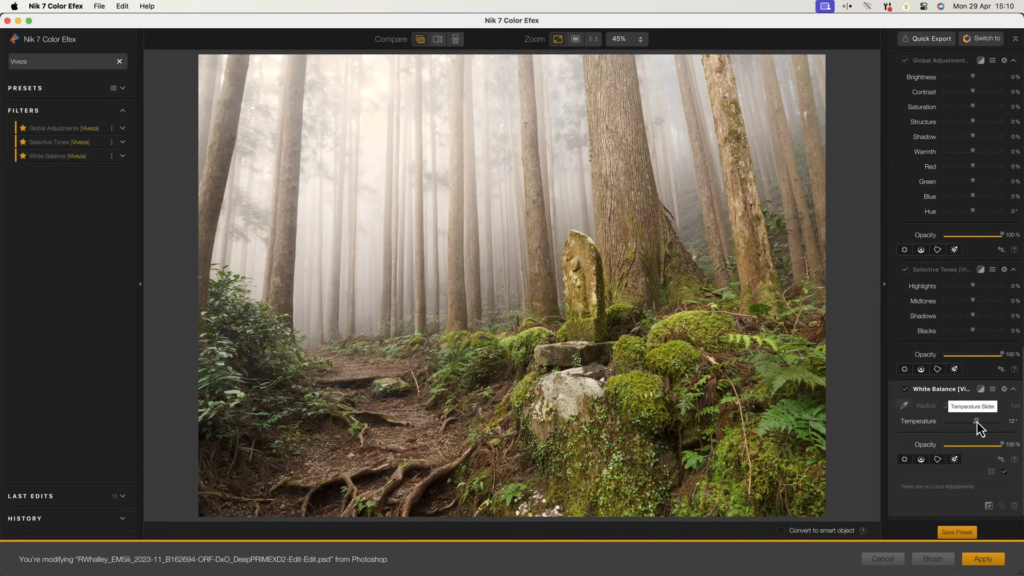
Viveza 3
The odd one out. Viveza’s sliders for color, brightness, and warmth feel redundant next to Lightroom’s basics. DxO wisely demoted it to a filter within Color Efex Pro a logical move. Skip the standalone app unless you crave its golden-hour presets.
The AI Question: Why Nik Collection Still Matters
Let’s address the elephant in the room: Why use Nik when AI can do it faster? The answer lies in intentionality. AI tools excel at speed and spectacle, but Nik plugins reward craftsmanship. Want to dodge/burn with precision? Use Control Points. Crave the grit of real film grain? Analog Efex delivers. Need subtle sharpening that respects natural textures? Sharpener Pro nails it.
DxO’s updates faster processing, upgraded masking, nondestructive TIFF editing aren’t flashy, but they refine an already polished suite. For photographers who value control over convenience, Nik Collection 7 feels like a trusted darkroom partner in a world of AI instant gratification.
The Verdict: Who Needs Nik in 2024?
For Old-School Enthusiasts: If you miss the tactile joy of manual editing, Nik’s plugins are a breath of fresh air.
Commercial Creators: Film emulations and precise color grading make this suite a secret weapon for branding projects. AI Skeptics: Prefer “handmade” edits? Nik offers an antidote to AI’s heavy hand. Yet, the suite isn’t perfect. Viveza feels outdated, and DxO’s refusal to adopt AI masking (while rivals like Luminar Neo lean in) may frustrate efficiency seekers. Final Take: The Nik Collection 7 isn’t for everyone but for those who cherish the journey as much as the destination, it’s a timeless toolkit.
Unlocking Creative Potential: A Step-by-Step Guide to Editing Moody Landscapes with DxO PhotoLab 7 and Nik Collection
If you’re exploring raw editors beyond Lightroom, DxO PhotoLab 7 paired with the Nik Collection offers a powerful toolkit for transforming images. In this tutorial, I’ll walk through my process of turning a foggy, muted landscape into a moody, dynamic scene. While I’ll save my full comparison of DxO vs. Lightroom for another post, I’ll note that DxO’s raw processing impresses with its dynamic range and color handling. Let’s dive into the edit!
Starting Point: Crafting the Composition
The original image (shot at ISO 100) had a serene, foggy atmosphere but lacked focus. My goal was to emphasize the lone tree and rolling fog while adding depth.
Cropping for Impact
I opted for a 4:5 aspect ratio to highlight the tree and create negative space on the right. This draws the eye along the fence line toward the foggy mountains. A distracting tree in the foreground was removed using DxO’s Repair Tool a quick, seamless fix.
Global Adjustments
Smart Lighting: Restored subtle contrast without overdoing it, preserving the fog’s softness. Tonal Curve: Lifted shadows slightly to avoid harshness while maintaining depth. ClearView Plus: Enhanced distant mountain details by 20%, balancing clarity with the scene’s ethereal vibe. Local Adjustments: Directing the Viewer’s Eye
To emphasize specific elements, I used localized edits:
Graduated Filter for the Sky
Pulled exposure down in the sky to deepen mood, reduced highlights, and added a touch of contrast with ClearView. A slight saturation decrease toned down unwanted purple tones.
Brightening the Fog
Using Control Points, I selectively brightened midtones and highlights in the fog. Duplicating these points across the misty areas created a luminous, layered effect.
Foreground Graduated Filter
Darkened the lower portion with another graduated filter to keep focus on the tree and midground. Nik Collection Magic: Polishing the Mood. After exporting to Nik Color Efex Pro, I applied three filters:
Skylight Filter
Enhanced pink and purple hues in the clouds. To avoid oversaturation, I added Control Points only to specific cloud areas and reduced opacity where needed.
Pro Contrast
The Dynamic Contrast slider added punch to textures ideal for balancing the soft fog with sharper foreground elements.
Glamour Glow
Introduced a subtle, ethereal haze (around 30% strength) to unify the scene. This softened highlights without losing detail, perfect for the dreamy atmosphere.
Final Tweaks: Balancing the Vision
Back in PhotoLab 7, I revisited the crop to eliminate residual sky distractions and fine-tuned saturation in the mist. While I initially considered a pastel edit, the moodier direction won out with its interplay of shadows and light.
Why DxO PhotoLab 7 Shines
Lens/Camera Profiles: Automatic corrections for my gear ensured optical flaws were handled upfront. Local Adjustments: Intuitive tools like Control Points and graduated filters made targeted edits effortless. Non-Destructive Workflow: Experimenting with looks was stress-free, thanks to reversible adjustments.
Before & After: From Flat to Atmospheric
The final image contrasts starkly with the original raw file. By darkening the foreground, brightening the fog, and enhancing sky tones, the scene now feels layered and intentional. The tree anchors the composition, while the Nik filters added that extra dimension proving how powerful a combo DxO and Nik can be. Your Turn! Whether you’re a DxO devotee or a Lightroom loyalist, experimenting with raw editors can unlock new creative perspectives. Give PhotoLab 7’s localized tools a try, and don’t shy away from Nik’s artistic filters. Sometimes, a moody edit is just a few sliders away!
Leave a Reply