
Pinnacle Studio 26 Ultimate: An in-depth analysis and user manual
Pinnacle Studio 26 Ultimate is worth considering if you’re looking into video editing software, particularly if you prefer feature-rich programs that strike a mix between ease of use and high-end capabilities. I have been using Pinnacle Studio for more than 15 years, and during that period I have encountered innumerable updates and enhancements. Here’s my frank opinion on whether it makes sense to upgrade, purchase, or continue with your existing version.
Is Pinnacle Studio 26 Ultimate a Good Purchase or Upgrade?
For Novices: Pinnacle Studio 26 Ultimate provides a powerful toolkit without being overly complicated for those who are new to video editing. For amateurs and semi-professionals who wish to produce high-quality material without a challenging learning curve, it’s perfect. Even if the UI isn’t as simple as some software designed for beginners, its extensive feature set which includes multi-cam compatibility, 360-degree video editing, and sophisticated effects—makes it a wise long-term investment.
For current users, upgrading is contingent upon your version. The upgrade to Pinnacle Studio 26 offers new features like improved 360° editing along with observable performance and stability gains if you’re running Pinnacle Studio 23 or earlier. The modifications are gradual, though, if you already have version 25. Personally, I skip one or two generations between upgrades (e.g., jumping from version 22 to 24 to 26) to maximize value.
Pricing Notes:
The advertised “savings” (like the $882 discount) should be taken with a grain of salt it’s a common marketing tactic. That said, the upgrade price is reasonable if you’re coming from an older version. Keep an eye out for seasonal sales or bundled deals.
What’s New in Pinnacle Studio 26 Ultimate?
360° Video Editing
With VR and 360 cameras gaining popularity, this feature is a standout. It’s ideal for makers experimenting with immersive material, even though it’s not as sophisticated as professional-grade tools.
Enhanced Stability and Efficiency
Previous iterations occasionally failed, particularly when working on resource-intensive tasks. I still fervently press Ctrl+S every few minutes, but version 26 feels more fluid and crashes less frequently.
New Transitions and Effects
New paint-style effects and transitions (such dynamic “Karate” wipes) add flair, but they aren’t groundbreaking. Existing users will like minor enhancements like configurable keyframing, and the library is still rather large.
Improvements to Sound Design
The sound effects collection is extensive and includes ambient music and sci-fi lasers. Although some require additional purchases, genre-specific background scores are also available in the “Scorefitter” music catalog.
An Overview of the Main Elements
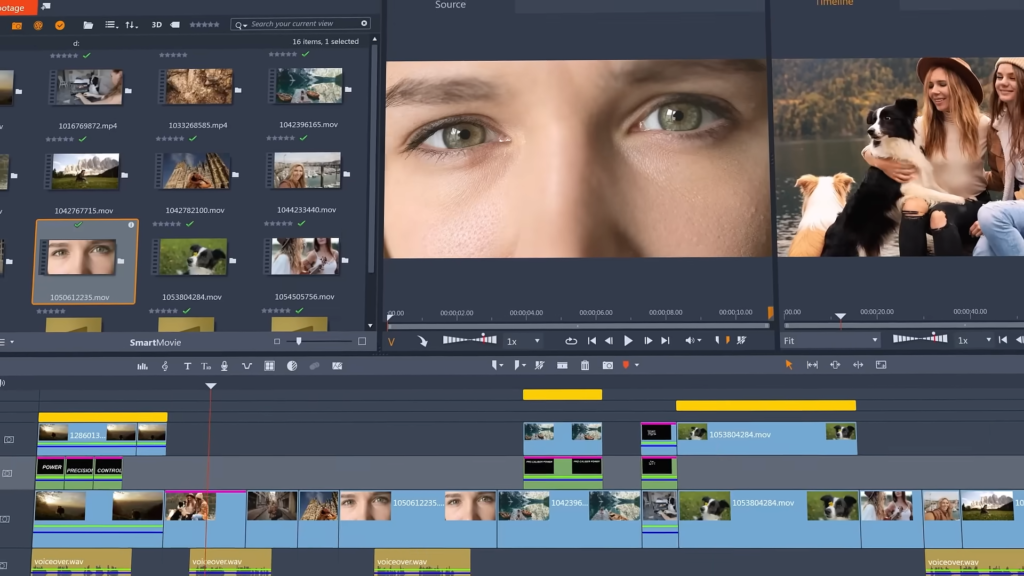
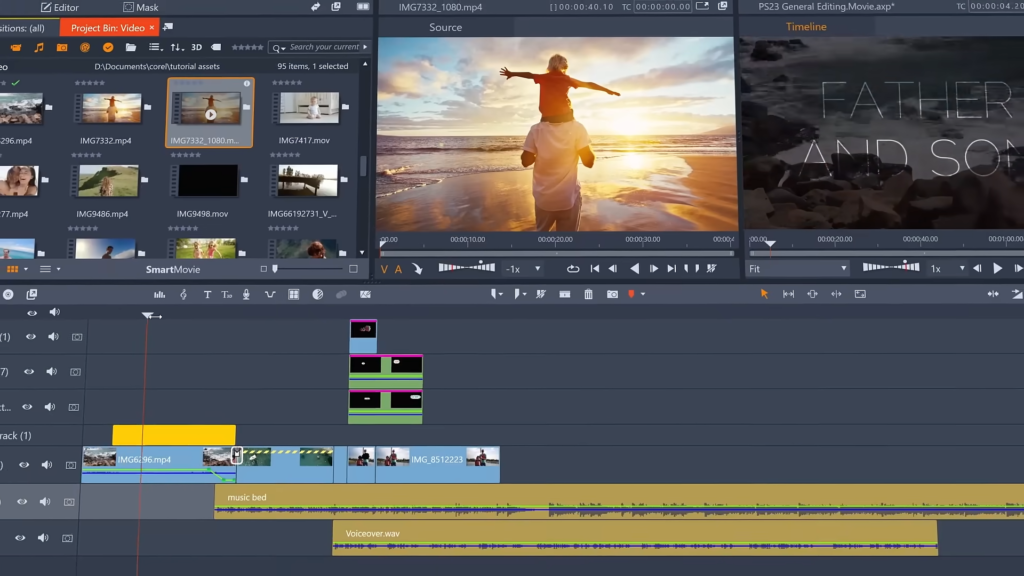
1. User-Friendly Interface
Three primary panes make up the workspace:
Media Library: Bring in and arrange audio, video, and pictures.
Preview Window: Playback of your edits in real time.
Timeline: Drag-and-drop ease of use for multi-track editing.
Pro Tip: To join clips together smoothly, use the Magnet Tool, which is activated by default.
2. Transitions & Effects
Effects Library: The presets range from fire animations to old-school movie overlays. Using the Properties panel, adjust the intensity.
Transitions: Choose from over 100 options, including 3D spins, page peels, and dynamic action cuts.
3. Titles & Text Tools
Create animated titles with the 3D text editor or pre-built templates. For YouTube creators, the screenshot tool simplifies thumbnail creation.
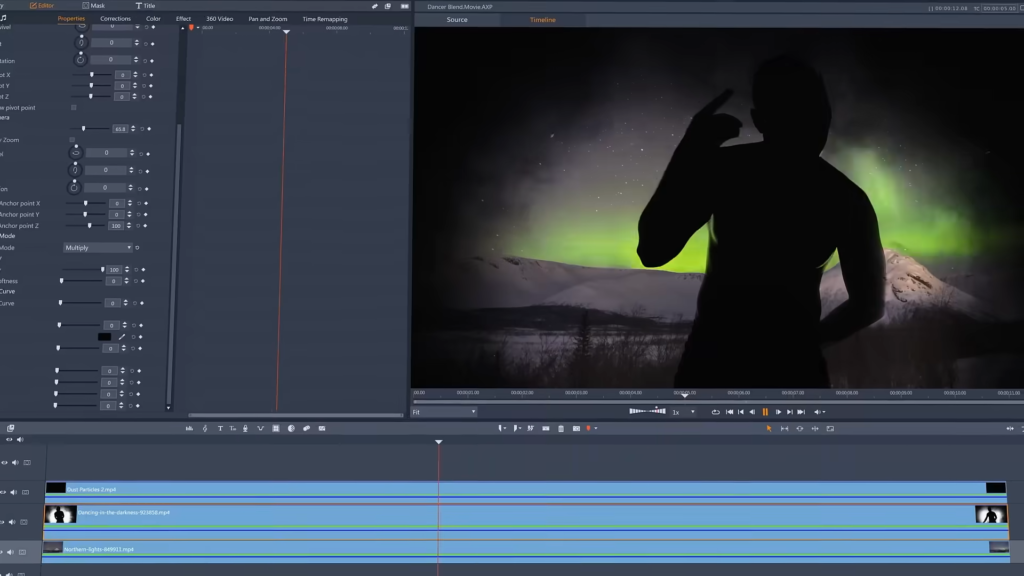
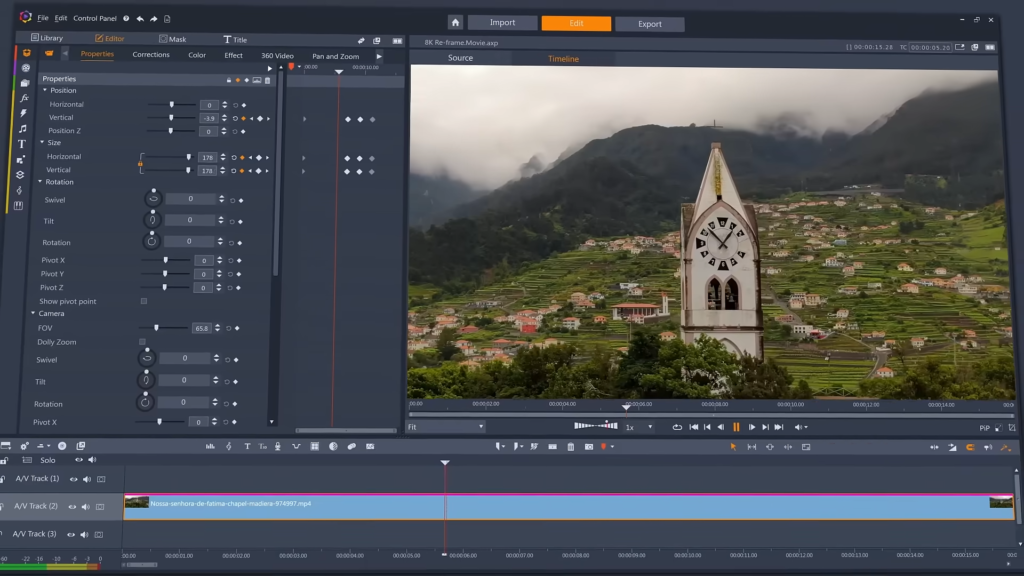
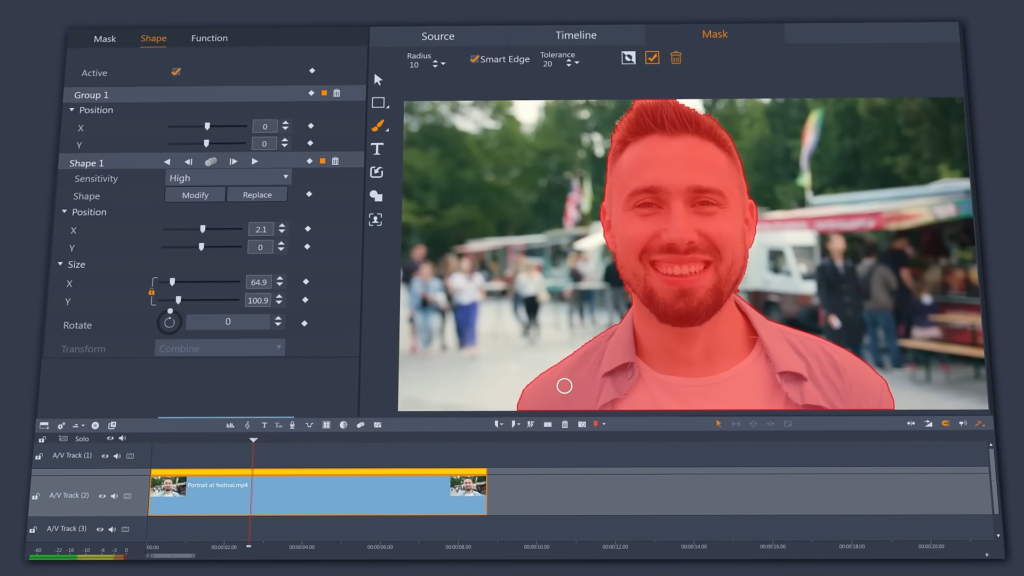
4. Masking and Color Grading
Although there are some basic color correction tools included, masking is the true jewel. To apply effects selectively, isolate faces, skies, or objects; this is perfect for surreal edits or green screen work.
5. Export Configurations
Use YouTube-optimized settings, MPEG-4, or AVI to export in up to 4K resolution. During voiceovers, the “Ducking” feature automatically turns down the background music.
Pinnacle Studio 26 Ultimate: Who Is It For?
Novices: The reward is a tool that develops with your abilities if you’re prepared to study.
Content Creators: The 360° support and stock libraries will be adored by YouTubers, TikTokers, and VR lovers.
Upgraders: Performance improvements and new features are most advantageous for those running versions 23 or later.
Conclusion Pinnacle Studio 26 Ultimate achieves a unique mix between being approachable for novice editors and having adequate capacity for large-scale projects. Both new users and legacy holdouts will find the upgrade to be worth the expenditure, even though it might not excite current customers. But if you’re not sure, wait for a real offer instead than falling for the “limited-time” discount gimmick.
Ready to dive in? Check out tutorial playlists to master masking, keyframing, and more. Whether you’re editing vacation clips or a indie short film, this software has the tools to bring your vision to life.
Use Pinnacle Studio Ultimate’s Creative Transitions to Enhance Your Videos
The unsung heroes of video editing are transitions. They give your projects vitality by transforming fragmented footage into polished, expert narratives. Understanding transitions in Pinnacle Studio Ultimate may elevate your work from mediocre to exceptional, whether you’re creating a YouTube intro, wedding clip, or travel vlog. Let’s get started on making good use of them!
The Significance of Transitions
Transitions are more than simply eye-catching effects; they define the tone, give your narrative dimension, and smoothly lead viewers between scenes. It feels jarring to go straight from an outdoor shot to an indoor scenario without any kind of transition. Your video will flow like a dramatic experience if you add a minor crossfade or a dynamic effect.
Filming with Transitions in Mind
Before you even open your editing software, plan ahead. Here’s a pro tip: film longer clips than you think you’ll need. For example, if you’re shooting a subject walking into a house, let the camera roll a few extra seconds before and after the action. This gives you flexibility to trim clips and apply transitions without awkwardly cutting off movement. Avoid abrupt starts/ends: If a clip ends mid-action (like someone walking), transitions might reveal unintended moments. Allow for creativity: During editing, additional footage allows you to play around with timing and effects.
Understanding Fundamental Transitions
A wealth of transitions are available in Pinnacle Studio Ultimate, beginning with the traditional ones:
Ideal for introducing or ending a scene is the fade in/out technique. For a smooth finish, fade to black rather than making sharp incisions.
Elevate Your Videos with Creative Transitions in Pinnacle Studio Ultimate
Transitions are the unsung heroes of video editing. They breathe life into your projects, turning disjointed clips into polished, professional stories. Whether you’re crafting a travel vlog, a wedding film, or a YouTube intro, mastering transitions in Pinnacle Studio Ultimate can transform your work from ordinary to extraordinary. Let’s dive into how to use them effectively!
Why Transitions Matter
Transitions aren’t just flashy effects they guide viewers seamlessly between scenes, set the mood, and add depth to your storytelling. Imagine cutting from an outdoor shot to an indoor scene without a transition: it feels abrupt. Add a subtle crossfade or a dynamic effect, and suddenly, your video flows like a cinematic experience.
Filming with Transitions in Mind
Before you even open your editing software, plan ahead. Here’s a pro tip: film longer clips than you think you’ll need. For example, if you’re shooting a subject walking into a house, let the camera roll a few extra seconds before and after the action. This gives you flexibility to trim clips and apply transitions without awkwardly cutting off movement. Avoid abrupt starts/ends: If a clip ends mid-action (like someone walking), transitions might reveal unintended moments. Leave room for creativity: Extra footage lets you experiment with timing and effects during editing.
Mastering Basic Transitions
Pinnacle Studio Ultimate offers a treasure trove of transitions, starting with the classics:
Fade In/Out: Perfect for opening or closing a scene. Instead of jarring cuts, fade to black for a sleek finish.
Crossfade: Blend two clips smoothly. Adjust duration and alignment to control how much of each clip overlaps.
Pro Tip: Right-click on a clip’s edge to apply transitions quickly. Shorten the default duration (like trimming a 7-second fade to 2 seconds) for a more natural feel.
Use Pinnacle Studio Ultimate’s Creative Transitions to Enhance Your Videos
The unsung heroes of video editing are transitions. They give your projects vitality by transforming fragmented footage into polished, expert narratives. Understanding transitions in Pinnacle Studio Ultimate may elevate your work from mediocre to exceptional, whether you’re creating a YouTube intro, wedding clip, or travel vlog. Let’s get started on making good use of them!
Adjust Timing: To change the length, alignment, and direction of any transition, double-click it.
Layer Effects: For interesting combinations, use overlap transitions (such as a fade and zoom); just make sure to render for fluid playback.
Conclusion When it comes to creating captivating videos, transitions are your hidden weapon. You are only constrained by your creativity when using Pinnacle Studio Ultimate’s extensive arsenal, which includes everything from traditional fades to innovative morphing. Thus, extend your filming time, experiment with effects, and don’t be afraid to try new things.
Are you prepared to begin? Start Pinnacle Studio, follow these pointers, and see your videos come to life. If this guide was useful to you, please share your works with us; we’d be interested in seeing what you come up with!
Leave a Reply