
In this article, I am writing about one of the most icreadible and amazing audio editor software in market and it is also known as Steinberg Cubase Pro. You will get to know about Steinberg Cubase Pro’s new features and upgardes in latest versions.
Redesigned User Interface
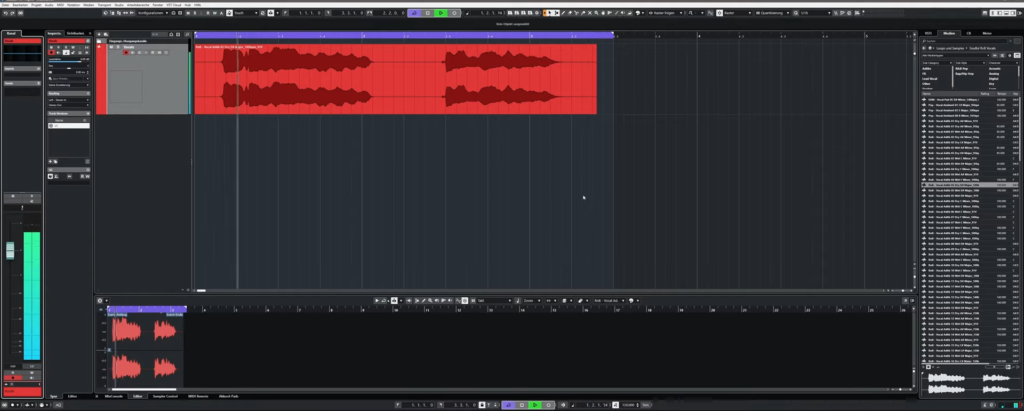
When you first open it. You will get the new design of Steinberg Cubase Pro user’s interface. The new interface is more modren and colorful. It gives better constrating view to it’s user. Reartitectured design provide improvement in the workflow of audio editors. You can change easily switch to channel configuration from mono to stereo and also from stereo to mono in just one click present in mix console. This feature saves a lot of time especially when you are recording vocals in mono but then wanting them to edit in stereo track and also doing an industry level project.
In the project, you have oppertunity to display a channel strip from the mix console respective to the tracks selected in the project window. This mean this feature will save your time and work from changing setting in different windows one by one. The EQ present in mix console is also re engineered that consists of total five band and open in a popup window. This popup will automatically close will your mouse pointer leaves the window which also saves your time.
Improvements in Shortcuts
By pressing shift key you can move the project window horizontly right or left instead of default verticlly just by scrolling the mouse wheel. If you press the shift key + control key at the same time you can enlarge or reduce the project tracks vertically simply by scrolling mouse wheel up and down.
By pressing the the control key, you can minimaze or maximize the horizontal view of the project tracks. Also by pressing control key and alt key at the same time you can reduse or increase the size of waveforms present inside the track. These improved new controls option increase the productivity of workflow.Steinberg Cubase Pro tempo can now easily set directly in transport bar by clicking by clicking designated button.
Steinberg Cubase Pro also provide selection area tool is now also available in the media editor allowing audio editors a compelete area of medy notes and automation to be selected without having to scroll up and down without having risk of not selecting media parameters.
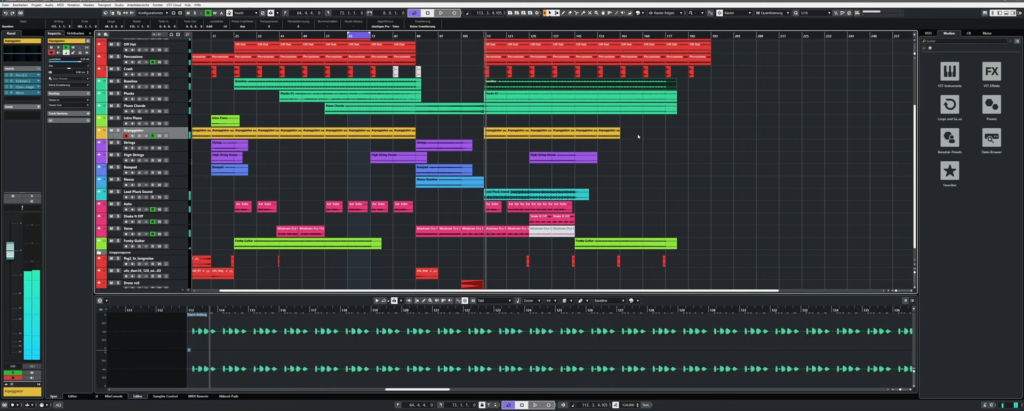
Steinberg Cubase Pro chord pads has also been updated in latest versions. New chord sequence allow new users to find best and suitable chord pregressions in no time and create entire song structure from them.
Steinberg Cubase Pro sampler track has also been updated with new algorithms in audio wrap area for even better sound results in latest versions. It contain enveloped presets to automate modulations and thus achieve very creative and mind blowing effects.
New Libraries and plugins
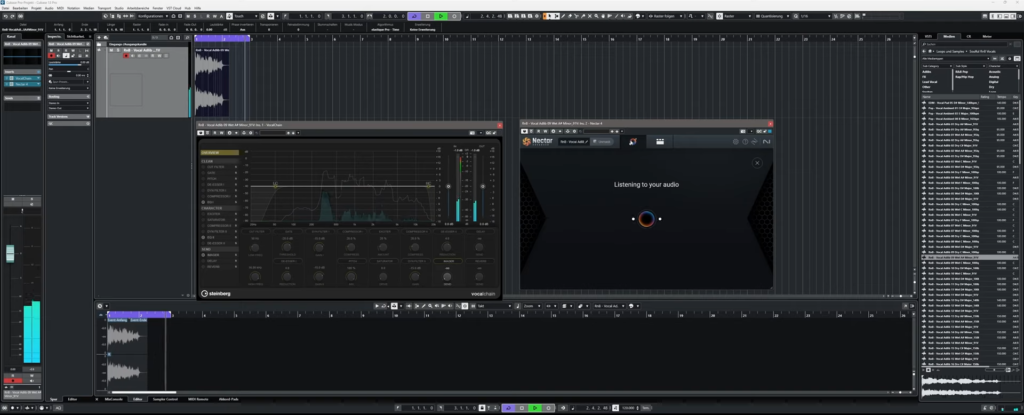
Steinberg Cubase Pro has included many more plugins and libraries in it. These libraries and plugins are really great aids for all types of audio editors. Steinberg Cubase Pro’s Steinberg vocal chain provides all types of steps in editing vocals. Nector 4 from isotope which offers more editing options. It also provides the option of using an AI assistant for the edition which is pre-built in the latest version of Steinberg Cubase Pro.
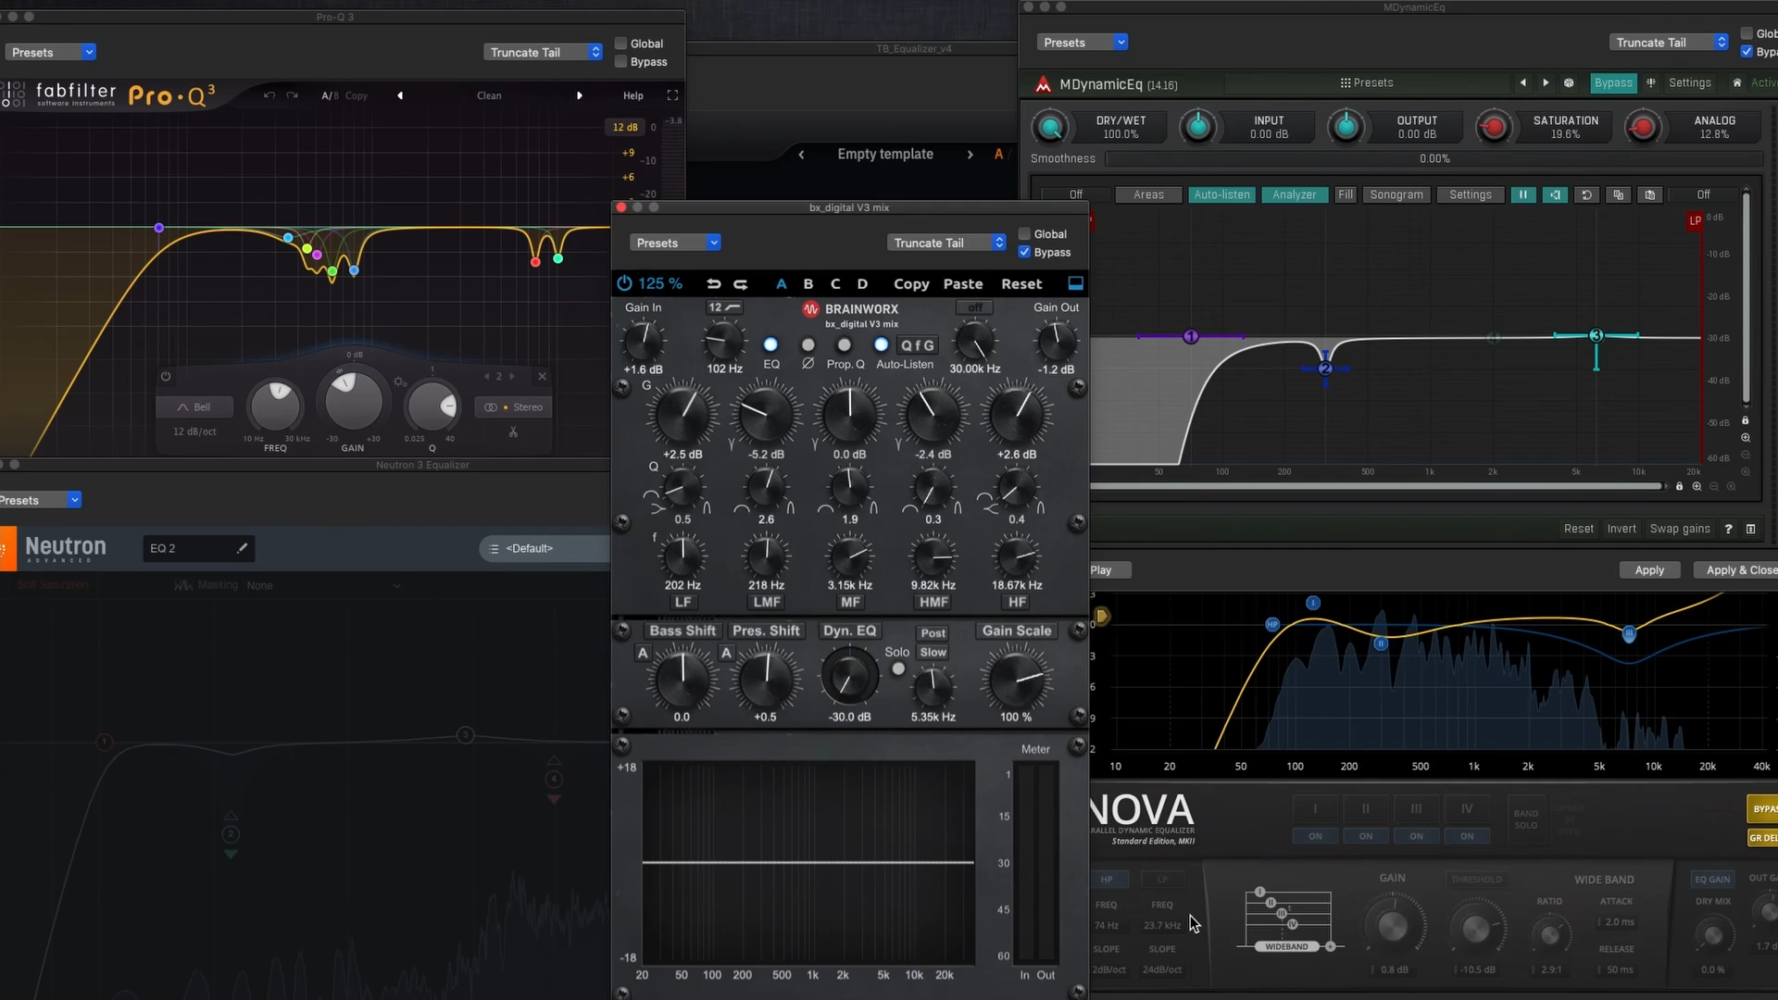
With the help of EQ-P1A, EQ-M5 and VoxComp Steinberg Cubase Pro is now equipped with two additional EQs and a composer specialized in vocals. Steinberg Cubase Pro has a new tube compressor which gives recordings warmth and character.
Crafting Your First Project in Steinberg Cubase Pro: A Beginner’s Guide
Steinberg Cubase Pro is a powerhouse for music production, podcasting, and audio engineering. But before you dive into creating your next masterpiece, you’ll need to set up a project properly. Whether you’re a first-time user or need a quick refresher, here’s how to start a new project in Cubase Pro and optimize its settings for your workflow.
Step 1: Launch Cubase and Navigate the Steinberg Hub
When you open Cubase, the Steinberg Hub greets you. This central hub is divided into two panels:
News & Tutorials: Updates and guides from Steinberg.
Projects: Your gateway to starting or resuming work.
For new projects, focus on the Projects section, which offers six categories:
Recent Projects: Quick access to your latest work.
Factory Templates: Four preset templates (e.g., “Recording,” “Scoring”) with pre-configured tracks to jumpstart your creativity.
More: Create custom projects or load saved templates.
Step 2: Starting Fresh with a Blank Project
While templates are handy, starting from scratch offers full control. Here’s how:
Click the More tab.
Select Empty to create a blank session.
Save Location: Choose where to store your project. Pro tip: Enable Use Default Location if you prefer a centralized folder for Cubase files.
Name Your Project: Keep it descriptive!
Click Create to finalize.
Step 3: Configuring Project Settings
Once your project is open, optimize its settings by navigating to Project > Project Setup (or press Shift + S). Here’s what to adjust:
A. Project Duration
Ideal for long-form content (e.g., podcasts, film scores), set the total length here. No more guessing if your 90-minute podcast will fit!
B. Time Display Format
Bars + Beats: Perfect for tempo-driven work (music production).
Seconds: Better for non-musical projects (podcasts, voiceovers).
C. Audio File Settings
Under Record File Format, tweak:
Sample Rate: Higher values (e.g., 48kHz) capture more detail but consume more storage.
Bit Depth: 24-bit is ideal for balancing quality and file size.
Why 48kHz/24-bit?
This combo offers professional clarity without overwhelming your system. You can always downsample later for distribution.
Pro Tips for Smooth Sailing
Templates Are Your Friend: Save time by converting frequently used setups into custom templates (accessible via the More tab).
Resource Management: High sample rates/bit depths demand more CPU power. Adjust based on your computer’s capabilities.
Manual Deep Dives: Explore Cubase’s manual for advanced settings like frame rates or surround sound configurations.
Final Thoughts
Starting a project in Cubase Pro is straightforward once you know where to look. By tailoring your project’s duration, time format, and audio settings, you’ll create a workspace that aligns with your creative vision. Remember, Cubase’s flexibility allows you to experiment—don’t hesitate to tweak settings as your project evolves.
Maximize Your Cubase Experience: How the Steinberg Audio Power Scheme Eliminates Latency
For music producers and audio engineers, latency is the silent enemy of creativity. That frustrating delay between hitting a note and hearing it play back can disrupt your flow, ruin a perfect take, or even lead to missed inspiration. If you’re using Cubase and battling this issue, there’s a hidden gem in the software that might just save your session: the Steinberg Audio Power Scheme. Let’s dive into how this feature works, why it matters, and how to activate it for seamless recording.
What’s Causing Your Latency Woes?
Latency often stems from your computer’s power management settings. To conserve energy, most systems throttle CPU performance or prioritize background tasks—great for battery life, but terrible for real-time audio processing. These power-saving modes can introduce delays, crackles, or dropouts during recording or mixing, especially when working with high track counts or demanding plugins.
The Steinberg Audio Power Scheme: Your Low-Latency Lifeline
Cubase includes a built-in solution to bypass these limitations. The Steinberg Audio Power Scheme optimizes your system’s resources specifically for audio tasks. When activated, it:
Disables power-saving modes that interfere with real-time processing.
Prioritizes CPU performance to ensure smooth, uninterrupted audio streams.
Reduces latency to near-negligible levels, ideal for recording vocals, instruments, or MIDI.
But there’s a trade-off: increased power consumption. While this might drain your laptop battery faster, the payoff in studio-quality performance is often worth it.
How to Activate the Steinberg Audio Power Scheme
Ready to say goodbye to latency? Follow these steps:
Open Cubase: Launch your project or start a new one.
Navigate to Studio Settings: Go to Studio > Studio Setup (or Audio System Settings in newer versions).
Select Your Audio Device: In the left-hand menu, click on your connected audio interface.
Enable the Power Scheme: Look for the Steinberg Audio Power Scheme option (often under “Advanced” or “System” tabs). Check the box to activate it.
Apply and Restart: Save your settings and restart Cubase for changes to take effect.
Pro Tip: If you’re on a laptop, plug it into a power source to avoid battery drain during critical sessions.
Balancing Performance and Power
While the Steinberg Audio Power Scheme works wonders, it’s not a “set it and forget it” solution. Here’s how to use it wisely:
Use During Recording: Activate it when tracking live instruments or vocals, then disable it during editing or mixing if needed.
Monitor CPU Load: Keep an eye on your system’s performance meter in Cubase. If you notice strain, freeze tracks or bounce plugins.
Re-enable Power Saving Later: Remember to switch back to balanced power modes when you’re done to save energy.
Leave a Reply